
Epoxy Garage Floor Kits: DIY Solutions for Durable, Beautiful Floors
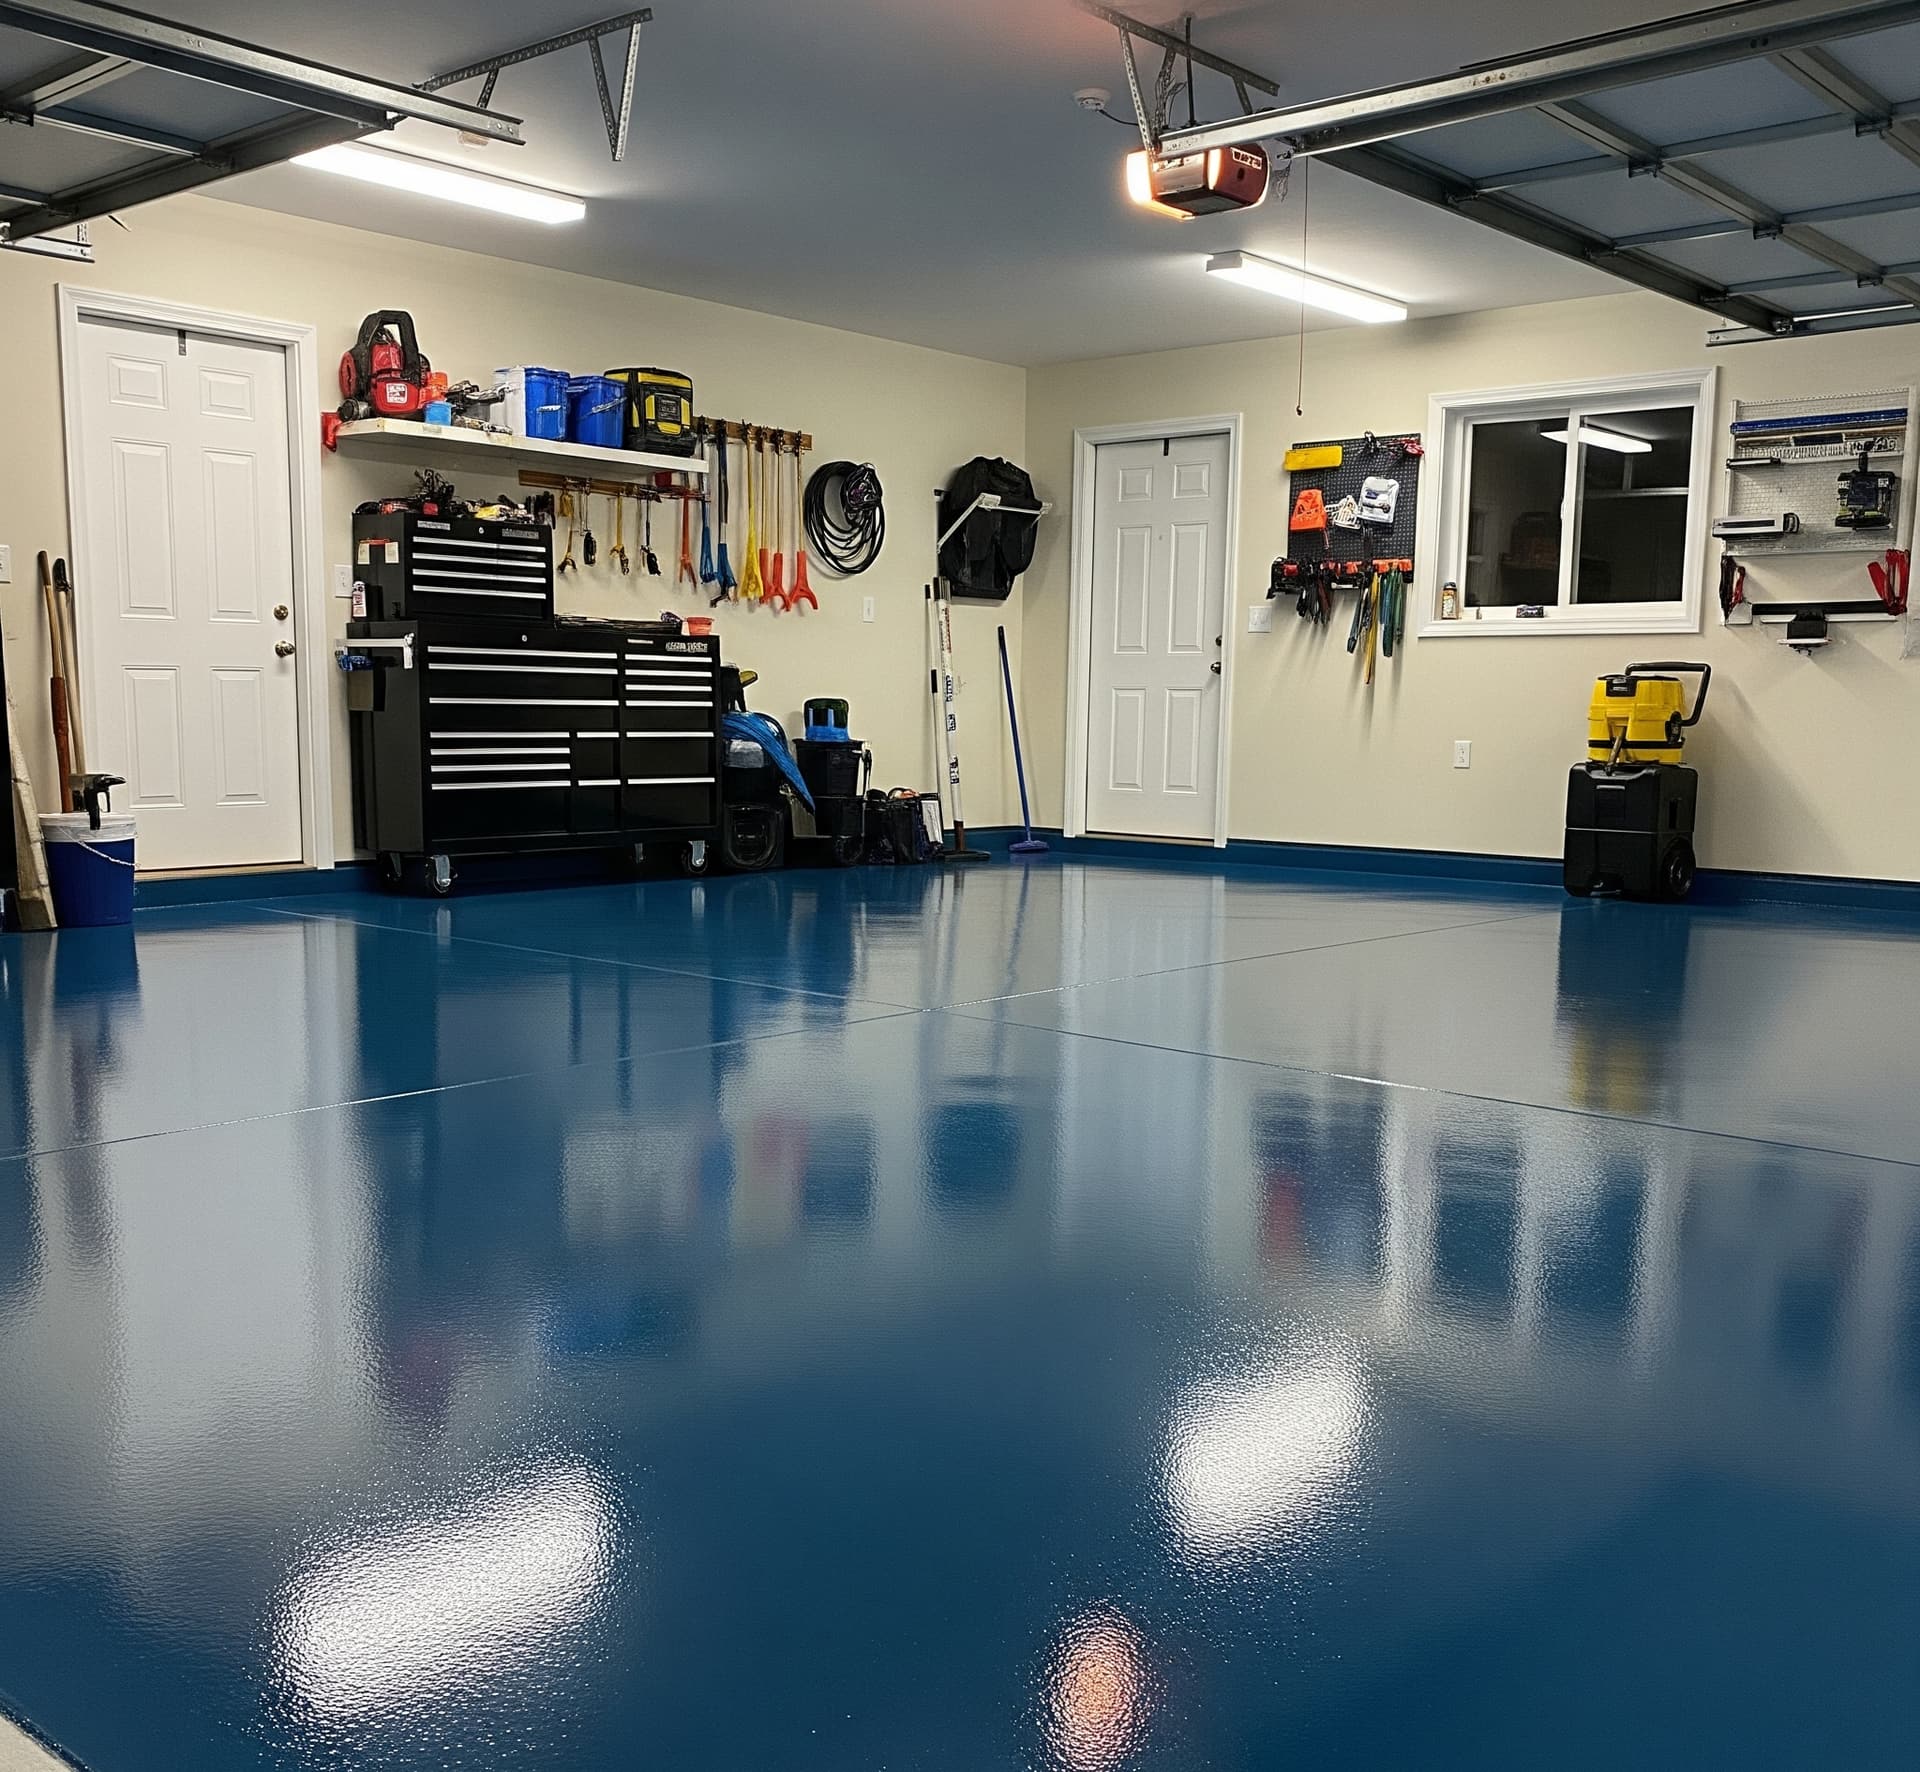
Epoxy Garage Floor Kit: A Game-Changer for Home Garages
A garage floor endures more than most surfaces in a home—oil stains, tire marks, moisture, and years of neglect. That’s why homeowners are turning to the epoxy garage floor kit as a transformative solution. With the right kit, even a weekend warrior can breathe new life into a dull, cracked floor and turn it into a durable, attractive surface.
An epoxy coating offers far more than just aesthetic improvement. It creates a protective layer that shields your concrete from damage, dust, and daily grime. The kits available today have come a long way. They are more comprehensive, easier to apply, and produce more professional-looking results than ever before.
Whether you’re protecting a workshop, upgrading a home gym, or simply tired of staring at those oil stains, an epoxy garage floor kit offers a high-impact upgrade that’s surprisingly affordable—and satisfying.
Garage Floor Epoxy Kit: What’s Inside?
Before diving into your project, it’s important to understand what typically comes in a garage floor epoxy kit—and what separates the good from the great.
Most kits include:
- Part A (resin) and Part B (hardener) – These two components create the chemical bond that makes epoxy so resilient.
- Decorative flakes – Optional but popular for adding texture and camouflaging imperfections.
- Etching solution – Prepares the surface by opening up the concrete pores.
- Mixing tools – Often a stirring stick or paddle for drill mixing.
- Instruction manual – Sometimes paired with video tutorials.
- Protective topcoat – Found in premium kits, offering UV protection and enhanced durability.
Some kits may also include non-slip additives, gloves, and rollers, while others assume you’ll provide your own tools. Before purchasing, check the coverage rate. A single epoxy kit for garage floor use might promise 200 square feet, but that number drops significantly if your surface is highly porous or textured.
Epoxy Garage Floor Kits vs. Professional Installation
When it comes to floor coatings, there’s always a crossroads: do-it-yourself or hire a pro? For many, epoxy garage floor kits provide an appealing middle ground between cost savings and visual impact.
Pros of using a kit:
- Affordability – Kits range from $100 to $400, making them far more budget-friendly than professional jobs.
- Convenience – Everything arrives in one box. No need to source individual components.
- Satisfaction – Completing the project yourself offers a unique sense of accomplishment.
Cons to consider:
- Thinner coatings – DIY kits tend to be water- or solvent-based, which may not last as long as 100% solids epoxy used by professionals.
- Prep work – Poor surface prep can compromise adhesion. Grinding is ideal, but most kits suggest acid etching.
- Time and physical effort – Mixing, rolling, and waiting for cure time can be taxing.
Still, with patience and care, homeowners can achieve outstanding results using garage floor epoxy kits. It’s all about setting realistic expectations and following the instructions to the letter.
DIY Garage Floor Epoxy Kit: How to Choose the Right One
Not all DIY garage floor epoxy kits are created equal. The market is flooded with options, but the key to choosing wisely lies in knowing what to look for.
Consider these factors:
- Solids Content
Kits with higher solids content produce thicker, more durable coatings. Look for products that offer 70–100% solids for longer-lasting results. - Topcoat Inclusion
A clear, chemical-resistant topcoat provides added protection and a more polished finish. Kits without it may look good initially but fade faster. - UV Resistance
If your garage gets sunlight, UV stability is crucial. Otherwise, yellowing and chalking may occur. - Ease of Application
Some kits offer extended working time, which is helpful for first-timers. Look for epoxy with 30–45 minutes of pot life. - Customer Support
Brands that offer video tutorials, customer service, and detailed guides can make your experience smoother and more successful.
Popular brands like Rust-Oleum, Epoxy-Coat, and RockSolid have earned trust among DIYers due to their comprehensive instructions and reliable results.
Garage Epoxy Floor Kit Application: What to Expect
Applying a garage epoxy floor kit is more than just painting the floor—it’s a process. Here’s what the average installation involves:
1. Preparation
Sweep, vacuum, and wash the floor. If etching is required, use the included solution and allow ample drying time.
2. Mixing
Stir the resin and hardener thoroughly. Some products require induction time (sitting after mixing) before application.
3. Rolling the Base Coat
Use a roller on an extension pole to apply the epoxy evenly. Work in manageable sections and keep a wet edge to prevent lap marks.
4. Broadcasting Flakes
While the coating is still tacky, throw the decorative flakes into the epoxy by hand. This step is optional but adds visual appeal and slip resistance.
5. Curing
Allow the coating to cure for 24 to 72 hours depending on temperature and humidity. Avoid foot traffic during this period.
6. Topcoat (if applicable)
Apply the clear topcoat using a separate roller. This adds protection, gloss, and longevity to your new floor.
Garage Floor Epoxy Kits: Common Mistakes to Avoid
Even with the best kit, success hinges on attention to detail. Avoid these common mistakes when using garage floor epoxy kits:
- Skipping surface prep – A dirty or glossy surface prevents proper bonding.
- Incorrect mixing – Incomplete mixing can lead to uneven curing or tacky spots.
- Overworking the epoxy – Re-rolling dried sections can leave marks and inconsistencies.
- Rushing the job – Allow plenty of drying time between coats and before use.
- Ignoring environmental factors – High humidity or cold temperatures affect cure times and results.
Planning ahead and taking your time are the best ways to ensure a smooth, professional-looking finish.
Why This Matters: Importance of the Article
Garage floors are often overlooked—until they start crumbling, staining, or generating endless clouds of dust. This article exists to help homeowners take control. It’s not just about coating concrete. It’s about creating a cleaner, safer, and more welcoming space without breaking the bank.
By understanding the strengths and limitations of epoxy kits, readers can make confident choices and avoid costly do-overs. It’s empowerment through education—one coat at a time.
Conclusion
Epoxy garage floor kits offer a rare combination of accessibility and impact. They allow homeowners to tackle a transformative project with their own two hands, saving money and gaining pride in the process.
While they may not match the industrial strength of a professionally installed system, modern kits still deliver impressive durability, style, and performance when applied with care.
For those willing to plan, prep, and persevere, the payoff is a garage that feels brand new—stronger, cleaner, and ready for anything.
Ready to Elevate Your Garage? (CTA)
Whether you’re ready to tackle the floor yourself or prefer a polished finish from a trusted professional, Los Angeles Epoxy has you covered.
Visit losangelesepoxy.com to explore our services, browse photo galleries, or request expert advice on choosing the right epoxy solution for your space. Your garage deserves more than concrete—it deserves craftsmanship.