
DIY Epoxy Garage Floors: A Practical Guide to Coating Success
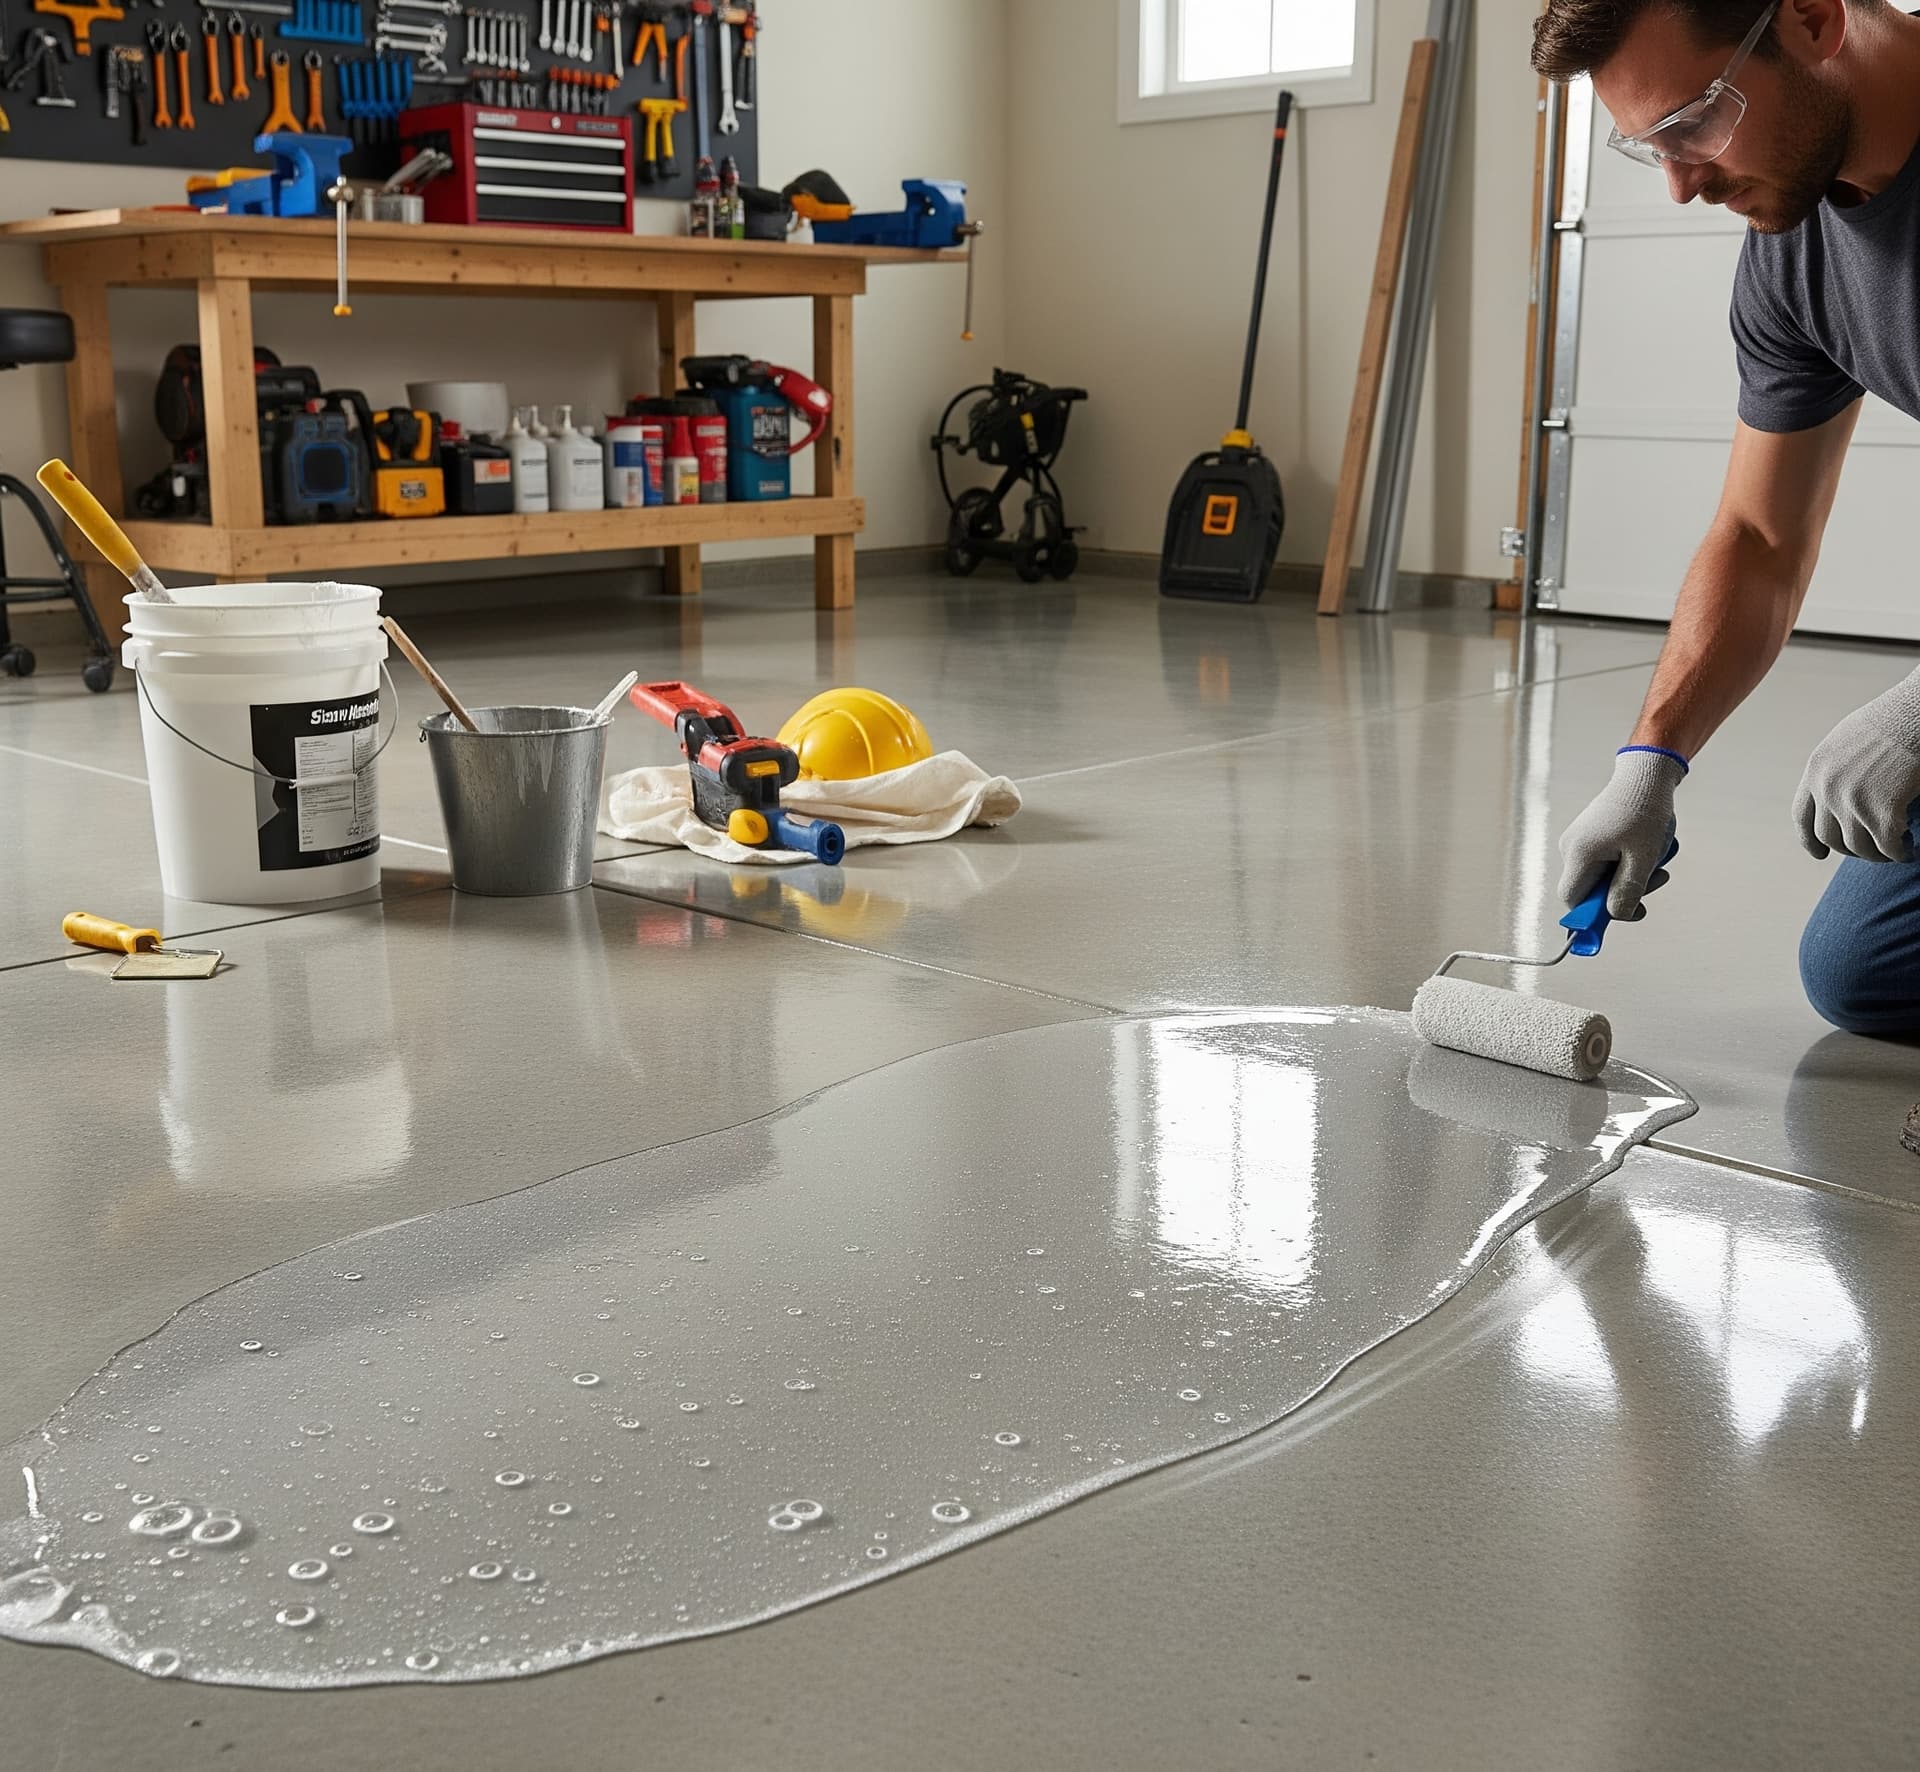
DIY Epoxy Garage Floor: A Satisfying Weekend Project
There’s something deeply rewarding about transforming a tired, stained garage into a clean, glossy, and functional space—all with your own hands. A DIY epoxy garage floor isn’t just a home upgrade; it’s a personal achievement. With the right materials, a little patience, and a weekend of elbow grease, even first-time DIYers can achieve stunning results.
Epoxy floor coatings create a hard, durable surface that resists stains, moisture, and abrasions. Unlike paint, which simply sits on the surface, epoxy chemically bonds to concrete, forming a strong protective layer. It’s a practical solution for homeowners who use their garages as workshops, storage areas, gyms, or even hangout zones.
But before grabbing a roller and diving in, understanding the process is key. Preparation is everything. Without proper prep, the coating may peel, bubble, or wear unevenly. With the right steps, however, you’ll end up with a surface that’s both attractive and resilient.
How to Epoxy Garage Floor: Step-by-Step
Installing your own epoxy floor is a meticulous task, but far from impossible. Here’s how to epoxy garage floor surfaces the right way:
1. Clear the Space
Remove all items from the garage. Sweep away debris and vacuum any dust. You want a completely empty workspace—clean and dry.
2. Inspect and Repair
Check for cracks, oil stains, or moisture issues. Use a concrete degreaser or etching solution if needed. Fill cracks with patching compound and allow it to cure completely.
3. Etch or Grind the Concrete
This step opens the pores of the concrete so the epoxy adheres properly. Acid etching is more DIY-friendly, but mechanical grinding offers superior results. Rinse thoroughly and let the floor dry for at least 24 hours.
4. Mix the Epoxy
Following the instructions from your DIY epoxy garage floor kit, mix the resin and hardener. Be sure to follow timing guidelines, as epoxy begins curing quickly.
5. Apply the Epoxy
Use a roller on an extension pole to apply the coating in sections. Work in small areas and keep a wet edge to avoid lap marks. Consider applying color flakes while the epoxy is still tacky for added texture and appearance.
6. Let It Cure
Once the floor is fully coated, allow it to cure undisturbed. Most systems require 24 to 72 hours before foot traffic and a full week before driving on it.
7. Topcoat (Optional but Recommended)
Some DIY garage floor epoxy kits include a clear topcoat. This adds durability, chemical resistance, and UV protection to preserve your new surface for years.
Epoxy Garage Floor DIY: Tools & Materials Checklist
A smooth installation depends on having the right tools before you start. Here’s a checklist for a successful epoxy garage floor DIY job:
- Concrete cleaner/degreaser
- Crack filler or concrete patch
- Etching solution or concrete grinder
- Safety goggles and gloves
- Mixing bucket and paddle
- Epoxy resin and hardener
- Paint rollers and extension poles
- Paintbrushes for edges
- Decorative flakes (optional)
- Anti-slip additive (optional)
- Topcoat sealant (optional)
When choosing your DIY epoxy garage floor kit, select one that matches your garage’s square footage and includes all components—primer, base coat, and topcoat if possible. Some premium kits even offer flakes, anti-slip additives, and mixing tools.
DIY Garage Floor Epoxy: Common Mistakes to Avoid
Doing it yourself can save hundreds of dollars, but cutting corners often leads to problems down the line. Here are pitfalls to avoid with your DIY garage floor epoxy:
- Skipping surface prep: This is the #1 reason epoxy fails. If the floor isn’t properly cleaned and etched or ground, the coating will peel.
- Applying on damp concrete: Moisture trapped beneath the coating causes bubbles and delamination. Always check for moisture before applying.
- Poor mixing: Improperly mixed epoxy will not cure correctly. Always mix components thoroughly and according to instructions.
- Working in extreme temperatures: Epoxy should be applied between 60°F and 85°F. Too cold or too hot, and it won’t bond properly.
- Delaying application after mixing: Once mixed, the epoxy starts curing fast. Don’t pause—apply immediately.
Taking your time, following each step, and resisting the urge to rush will go a long way toward ensuring a smooth, durable result.
Do It Yourself Epoxy Garage Floor: Pros and Cons
Choosing to do a do it yourself epoxy garage floor comes with its fair share of pros and cons. Knowing both sides can help you decide whether to DIY or hire a pro.
Pros:
- Cost savings – DIY kits typically cost $100–$500, significantly less than professional installations.
- Personal satisfaction – The pride of seeing your own handiwork is hard to beat.
- Customization – You get full control over colors, flakes, and textures.
Cons:
- Labor intensive – The process is physically demanding and time-consuming.
- Limited durability – DIY kits are often water-based and thinner than professional-grade systems.
- Room for error – Mistakes in prep or application can lead to early failure.
For homeowners who enjoy home improvement and feel confident following detailed instructions, the benefits often outweigh the risks.
DIY Garage Floor Epoxy Kit: What to Look For
Not all kits are created equal. When choosing a DIY garage floor epoxy kit, keep these features in mind:
- Solids content – Higher solids mean a thicker, longer-lasting finish.
- Included topcoat – A UV-resistant topcoat protects color and gloss.
- Slip-resistant additives – Important for safety, especially in wet or oily garages.
- Coverage area – Make sure the kit can cover your full square footage with some margin.
- Customer support – Look for brands that offer tutorials, videos, and responsive support.
Well-known brands like Rust-Oleum, Epoxy-Coat, and RockSolid offer homeowner-friendly kits that strike a balance between price and performance.
DIY Epoxy Garage Floor Kit: Is It Worth It?
So, is a DIY epoxy garage floor kit worth the effort?
In many cases, yes—especially for homeowners who don’t mind a little hard work. The final result is a floor that looks professional, performs well, and adds instant polish to a garage space. While it may not be as thick or rugged as a commercial system, it’s a solid middle ground for the average home.
If you need industrial strength or ultra-smooth finishes, professional installation may still be the better route. But for weekend warriors looking for a satisfying home upgrade, DIY epoxy hits the sweet spot between value and performance.
Why This Matters: Importance of the Article
Many homeowners dream of improving their garages, but budget or uncertainty holds them back. This article offers clarity, encouragement, and direction. Knowing the steps, tools, and potential pitfalls empowers people to take action—with confidence.
Epoxy flooring doesn’t just elevate the space visually. It protects it, transforms how it’s used, and brings a sense of order and pride. Whether tackling the project alone or preparing to hire help, informed decisions make all the difference.
Conclusion
A DIY epoxy garage floor project is more than just a coat of paint. It’s a transformation. With care, patience, and the right materials, your garage can become a cleaner, tougher, and more polished part of your home.
Yes, the process takes effort. But the results? Durable, attractive, and deeply satisfying.
Ready to Start Your Garage Transformation? (CTA)
If you’re ready to roll up your sleeves and start your epoxy flooring journey, or if you want expert help to ensure perfection, Los Angeles Epoxy is here for you.
Visit losangelesepoxy.com to explore our services, request a free quote, or get advice on the best approach for your space. Whether DIY or professional, we’ll help bring your garage vision to life—beautifully and reliably.